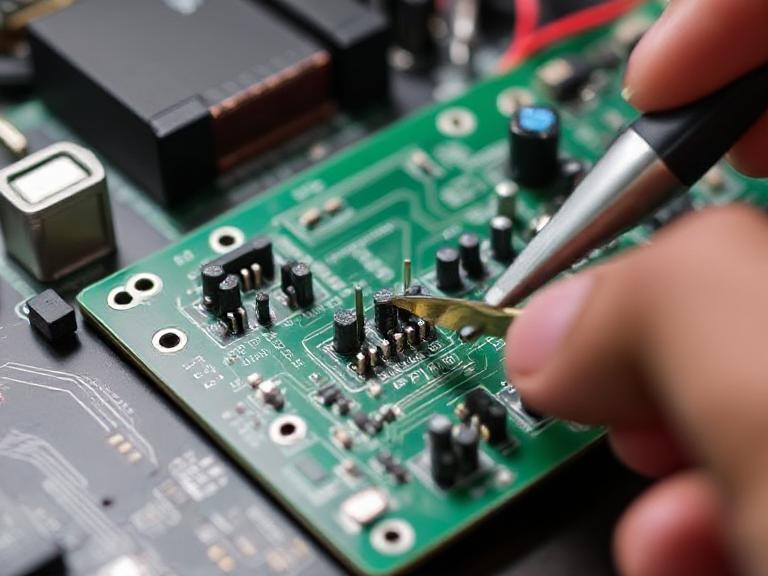
7 steps to Repairing Circuit Boards: Techniques, Tools, and Pro Tips
Table of Contents
- Introduction
- Why Circuit Board Repair Is Important
- Essential Tools for Circuit Board Repair
- Step-by-Step Circuit Board Repair Process
- Wintech's Expertise in Circuit Board Services
- Pro Tips for Effective Circuit Board Repair
- Common Circuit Board Repair Scenarios
- Summary Table: Key Steps in PCB Repair
Introduction

Printed Circuit Boards (PCBs) are the heart of modern electronics. When these boards fail, the entire device can become non-functional. Repairing circuit boards not only saves time and costs but also contributes to sustainability. This comprehensive guide explores the tools, steps, and advanced methods used in circuit board repair, featuring Wintech’s high-precision electronic solutions tailored for complex, high-mix, and low-to-mid volume needs.
Why Circuit Board Repair Is Important
PCB failures can result from mechanical stress, corrosion, electrical overload, or simple wear and tear. Effective circuit board repair helps to:
- Reduce device downtime
- Save on costly replacements
- Ensure operational continuity
- Improve sustainability through electronic waste reduction
Essential Tools for Circuit Board Repair
Before initiating any repair, having the right tools is critical:
- Soldering Iron: For component replacement
- Desoldering Pump or Wick: For removing damaged components
- Multimeter: For continuity and voltage checks
- PCB Holder or Stand: For secure handling
- Magnifying Lamp: For inspecting fine components
- ESD Protection Gear: Anti-static wrist strap, mat, etc.
- Hot Air Rework Station: For surface-mount technology (SMT) repairs
Step-by-Step Circuit Board Repair Process
Step 1: Visual Inspection
- Check for burnt areas, broken traces, or dislodged components
- Use a magnifier or microscope for micro-level faults
Step 2: Testing with a Multimeter
- Measure voltage, resistance, and continuity
- Identify short circuits, open circuits, and faulty components
Step 3: Removing Faulty Components
- Use a soldering iron and desoldering pump/wick
- Avoid overheating to protect nearby components
Step 4: Cleaning the Area
- Use isopropyl alcohol and a soft brush
- Ensure the board is dry before continuing
Step 5: Replacing Components
- Place new components using tweezers or precision tools
- Solder carefully to ensure proper connectivity
Step 6: Repairing Damaged Traces
- Use a conductive pen or copper tape to reconnect traces
- Apply solder to reinforce connections
Step 7: Testing the Board
- Reconnect power and use multimeter for final checks
- Verify functionality before reassembling device
Wintech's Expertise in Circuit Board Services

Wintech is a globally trusted provider of custom electronic manufacturing solutions including complex and high-precision PCB repair, layout, and assembly. Their services are designed for high-mix, low to mid volume, and turnkey solutions.
Wintech’s Key Services
- PCB Design & Layout: High-difficulty and large-size boards
- PCB Manufacturing: Advanced capabilities for complex structures
- PCB Assembly & SMT: Full-scale PCBA solutions
- Quick Turn PCB Prototyping: Fast and precise prototype assembly
- Plastic Molding: For housing and enclosures
- Metal Precision Machining: For mechanical and heat-dissipating components
Many Fortune 500 enterprises have relied on Wintech for full-system, high-reliability electronic products.
Pro Tips for Effective Circuit Board Repair
- Always wear ESD protection to avoid static discharge damage
- Use flux to improve solder adhesion and flow
- Document your process when handling multi-layer or complex PCBs
- Test each component before and after installation
- Use heat shields to protect adjacent components during rework
Common Circuit Board Repair Scenarios
Scenario 1: Burnt Resistors
- Remove with tweezers and soldering iron
- Replace with exact match in resistance and wattage
Scenario 2: Broken PCB Traces
- Use a precision knife to clean ends
- Bridge using solder or copper wire
Scenario 3: Cracked or Lifted Pads
- Re-anchor using adhesive or conductive epoxy
- Use jumper wires if pad is not reusable
Scenario 4: Dead IC or SMD Chips
- Use a hot air rework station
- Ensure perfect alignment before resoldering
Scenario 5: Water Damage
- Dry thoroughly with isopropyl alcohol
- Check for corrosion, replace any affected parts
Summary Table: Key Steps in PCB Repair
| Step | Description | Tools Needed |
|---|---|---|
| 1. Visual Inspection | Look for obvious defects or burns | Magnifier, inspection lamp |
| 2. Test with Multimeter | Check continuity and voltage | Multimeter |
| 3. Desolder Faulty Parts | Remove damaged components | Soldering iron, desoldering tools |
| 4. Clean the Area | Prepare surface for repair | Isopropyl alcohol, brush |
| 5. Solder New Parts | Replace components accurately | Soldering iron, flux |
| 6. Repair Traces | Bridge broken connections | Copper wire, conductive pen |
| 7. Final Test | Power-up and validate repairs | Multimeter, power supply |


